A Step-by-Step Guide to Applying Makeup
Step 1: Eyes
Experts suggest applying eye makeup before any other cosmetics so colored speckles don’t fall onto concealer or foundation. Shadow goes first, then liner, then mascara.
For Dark Circles and Spots
To counteract shadowy areas, use a finger to pat on a creamy cover-up that is a shade lighter than your skin (a concealer for blemishes follows).
For Blemishes
Dab oil-free moisturizer onto spots first; this will prevent a cover-up from looking dry or cakey. Then apply a pore-clearing formula with salicylic acid.
Step 3: Foundation
If you need to minimize redness or discoloration, blend on a lightweight foundation sparingly with your fingers or a sponge.
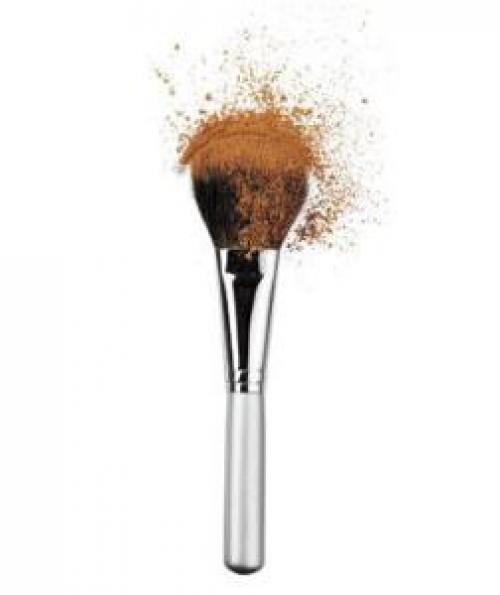
Step 4: Powder
Choose one to give your cover-ups staying power (a sheer powder follows, for those who prefer that option).
Bronzing Powder
For a sun-inspired glow, concentrate on the tops of the cheekbones and the tip of the nose. You can use a loose foundation in a deep shade.
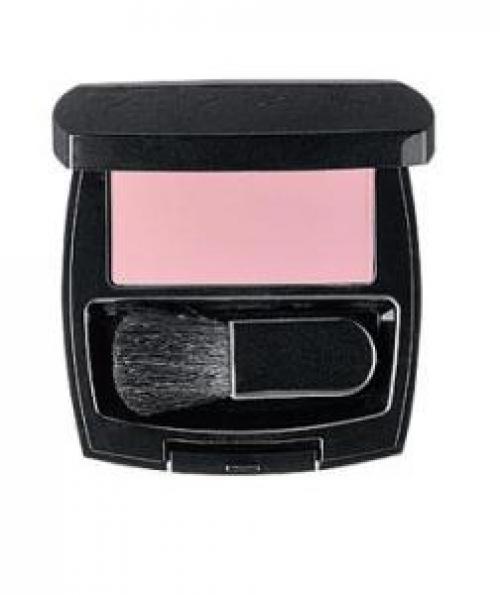
Step 5: Blush
Enliven a sallow or blah complexion with a color that is one shade brighter than you think you need, suggest experts.
Step 6: Lip Color
This goes on nearly last so you don’t smudge it while working on the rest of your face.
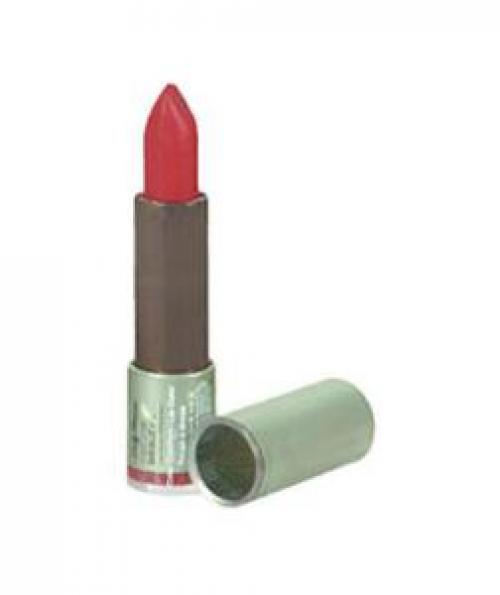
Lipstick
When you want the most finished, pulled-together look, pick a stick or a stain. Its rich pigments coat lips in a uniform color. (If you’re going bright or dark, apply with a brush for precision.) Read on for a lip gloss recommendation.
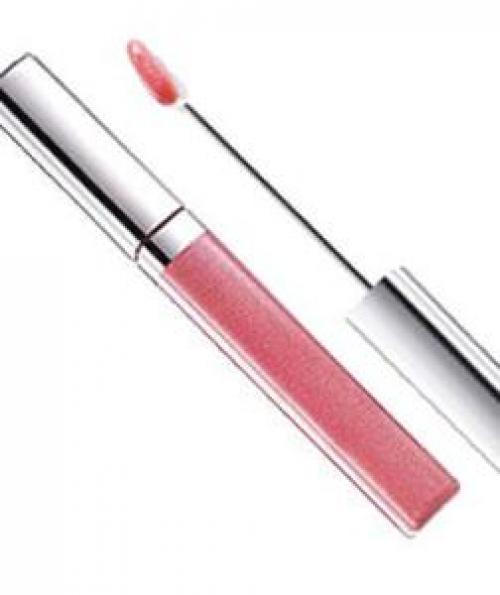
Lip Gloss
For the sheerest effect, go for gloss. It’s see-through and light-reflecting, so it makes lips look full. Avoid highly frosted formulas, which can look dated.
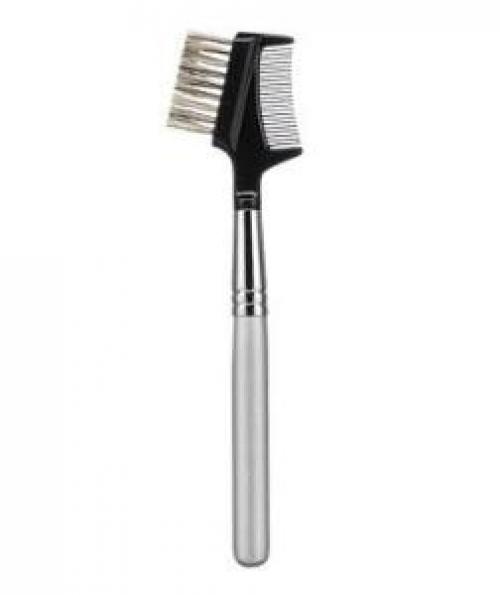
Step 7: Brows
Finally, let the rest of your makeup dictate how much brow definition you need. If you’ve gone with a natural look, simply smooth hairs into place. When you’re wearing more color, apply a defining powder, then brush to blend.