4 DIY Face Masks
In the cold winter months (and all the time) it is important to take care of your skin. But but but, instead of spending $50 on a fancy facial, just grab some ingredients that you most likely have at your house already! DIY Face Masks are definitely the way to go. You know everything that goes into them – saving your face from harsh chemicals – and what is better than putting on a mask at home then sitting and watching an episode of Grey’s Anatomy on Netflix and sipping on coffee.. or wine.. depending on the time of day

OKAY, LET’S GET DOWN TO BUSINESS
Before you put on any face mask, you should take off any make up and cleanse your face with warm – not too hot – water to open your pores. Start with a clean slate to get the most out of your masks!
1. The Exfoliating Baking Soda & Water Mask
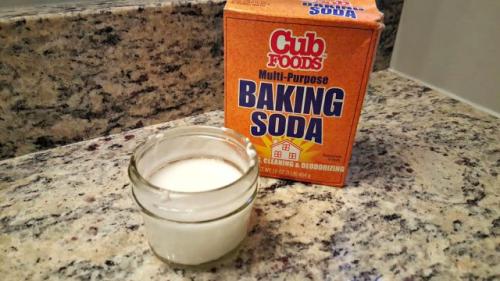
BENEFITS: Baking Soda naturally exfoliates skin and also dries up oil on the face – fighting blemishes.
- Mix one part baking soda with two parts water.
- Ratios don’t have to be perfect but for sensitive skin, baking soda can be harsh, so add more/less water depending on your needs.
The mix should look like a paste. You can apply it with your fingers, a wide make up brush, or a washcloth. Feel free to just put it on and let it dry for about 5-15 minutes. You can also apply it and massage it in a circular form and then let it dry – for more exfoliation.
Rinse with warm water, and pat dry with a towel. It is highly recommended you apply moisturizer after using this mask.
2. The Egg White, Lemon Juice, & Toilet Paper Peel
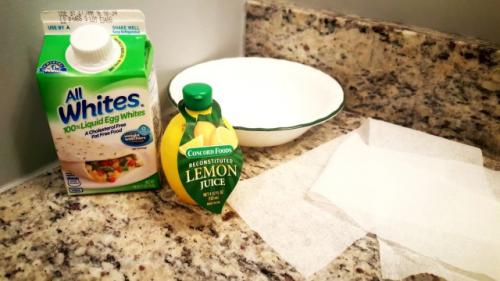
BENEFITS: Egg Whites are full of protein which enrich the skin by providing nutrients and shrinking pores. Lemon juice helps even skin tone by reducing scars .
- 3 Tbsp of Egg Whites
- If you are using regular old eggs – use 2 eggs and extract the yolk
- 1 Tbsp of Lemon Juice
- Approximately 8 Pieces of Toilet Paper
Mix the egg whites and lemon juice into a bowl. Once you have your mixture, take the toilet paper and place it on a section of your face. If you have an old make up brush you can use to apply it, great! If not, your fingers will do jusssst fine! Cover each piece until it has the mixture on it, but don’t apply so much that it is dripping – it will never dry! You might have to tear a couple of pieces or overlap them in some areas.
Wait for the mask to dry, 10-20 minutes, then carefully peel the toilet paper off piece by piece. After it is all off, rinse with warm water, and pat dry with a towel. Feel free to apply moisturizer after using this mask.
3. The Anti-Inflammatory Honey, Cinnamon, & Nutmeg Mask

BENEFITS: Honey is a natural moisturizer but also antibacterial. Cinnamon helps reduces bacteria while stimulating the skin – promoting healthy skin renewal. Nutmeg exfoliates the skin. These three together will clear problematic, acne-prone skin, while exfoliating and moisturizing.
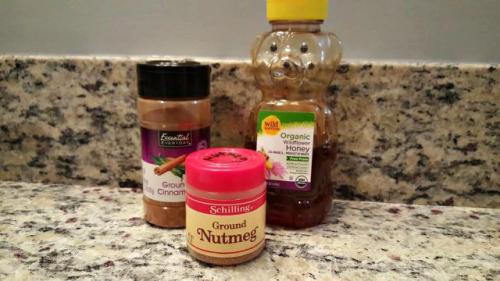
- 2 Tbsp. Honey
- 1 Tsp. Cinnamon
- 1 Tsp. Nutmeg
Honey is going to be the main ingredient – holding the cinnamon and nutmeg together. Mix all ingredients in a bowl – the measurements do not have to be exact and you can customize it to your liking. Apply to your face with brush or fingers and leave on for 15-25 minutes. Rinse (might have to use a light cleanser to remove any stickiness) and pat dry!
4. The Moisturizing Coconut Oil, Honey, Baking Soda, & Tea Tree Oil Mask
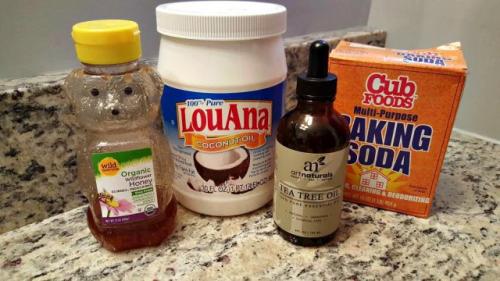
BENEFITS: This mask has too many benefits to mention. Coconut oil is one of the best natural moisturizers – seriously look online at everything coconut oil has to offer. Honey is anti-bacterial and healing. Baking soda naturally exfoliates skin. Tea Tree Essential Oil clears blemishes and reduces breakouts.
- 1 Tbsp. Coconut Oil
- 1 Tsp. Honey
- 1 Tsp. Baking Soda
- 3-5 drops of Tea Tree Oil
Mix all ingredients in a bowl. When smooth and well-stirred, apply to your face. Add more or less coconut oil depending on consistency of mask – you don’t want it too runny. Avoid eyes and mouth. Leave on for 15-20 minutes. Rinse with warm water and continue with normal skin care routine.